Before you begin water bath canning in your Instant Pot, it's important to gather and prepare all of your ingredients. This will ensure a smooth and efficient canning process. Start by choosing high-quality, fresh produce that is free from blemishes or bruises. Make sure to wash and dry your fruits or vegetables thoroughly before proceeding.
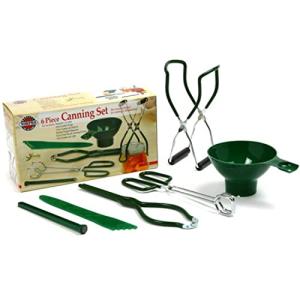
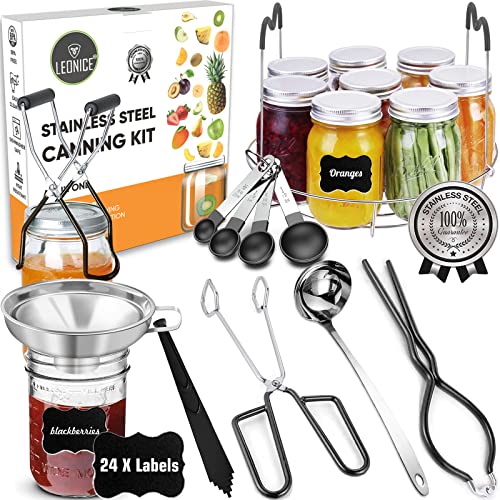
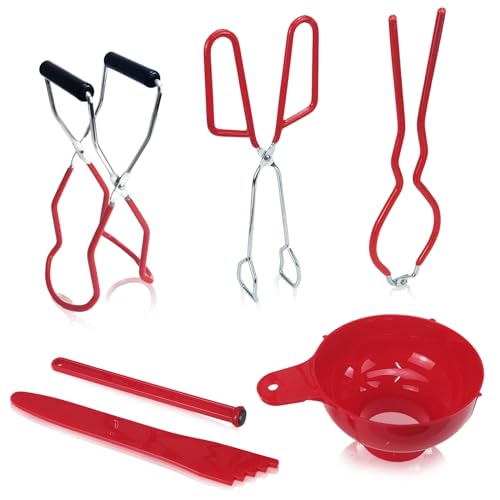
Next, gather all of the additional ingredients needed for your canning recipe, such as sugar, vinegar, spices, or herbs. It's important to measure out these ingredients accurately to ensure that your final product turns out just right. In addition, make sure to have all necessary canning supplies on hand, such as jars, lids, bands, a canning rack, and a canning funnel.
Once you have all of your ingredients and supplies gathered, set up your work station. Make sure you have a clean and organized space to work in, with all of your tools within reach. Having everything prepared and ready to go will make the water bath canning process in your Instant Pot much more efficient and enjoyable.
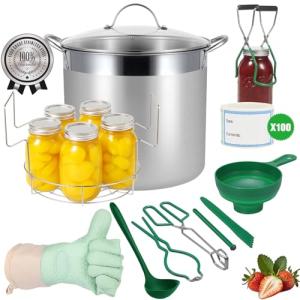
HOMKULA Water Bath Canning Pot with Rack and Lid
Premium Water Bath Canning Pot with Rack and Lid for the Home Kitchen
Product information
$65.99 $62.99
Product Review Score
4.77 out of 5 stars
183 reviewsProduct links
Set Up Your Instant Pot
To begin water bath canning in your Instant Pot, the first step is to familiarize yourself with the different parts of the appliance. Make sure you have the stainless steel pot, the steam rack, and the sealing ring. These are the key components you will need to use for water bath canning. Place the stainless steel pot inside the Instant Pot and insert the steam rack. The steam rack is essential for keeping the jars elevated during the canning process, allowing hot water to circulate freely around them.
Once you have assembled the necessary parts, it's time to add water to the pot. Fill the pot with enough water to cover the jars by at least one inch. This ensures that the jars are completely submerged during the canning process, allowing them to be thoroughly sterilized. Remember, it's crucial to always follow USDA guidelines for water bath canning to ensure the safety and quality of your preserved foods.
After adding water to the pot, place the jars filled with your prepared ingredients onto the steam rack. Make sure the jars are not touching each other and are evenly spaced out on the rack. Secure the lid on the Instant Pot and set the vent to the sealing position. Follow the specific recipe instructions for the correct canning time and pressure settings. Once the canning process is complete, carefully remove the jars from the Instant Pot using canning tongs and allow them to cool completely before storing. Mastering water bath canning in an Instant Pot is a convenient and efficient way to preserve your favorite foods for future enjoyment.
Canning Process Step by Step
Water bath canning in Instant Pot is a convenient and efficient method for preserving your favorite fruits and vegetables. Follow these simple steps to master the canning process:
Prepare your ingredients by washing and chopping them into the desired size. Place the trivet in the bottom of your Instant Pot and add 2-3 cups of water. Place the filled jars on the trivet, making sure they are not touching each other or the sides of the pot.
Secure the lid of the Instant Pot and set the vent to the sealing position. Select the manual setting and set the timer according to the recipe you are following. Once the timer goes off, carefully release the pressure and remove the jars using tongs.
Place the jars on a towel-lined countertop and let them cool completely. Check the seals by pressing down on the center of each lid - if it does not move, the jar is sealed. Label and store the jars in a cool, dark place for up to a year. Enjoy your homemade jams, pickles, and more!
Storing and Enjoying Your Preserves
Once you've successfully mastered water bath canning in your Instant Pot, it's time to properly store and enjoy your delicious preserves. Storing your canned goods is key to maintaining their freshness and flavor for months to come. After removing your jars from the Instant Pot, allow them to cool completely before checking the seals. Press down on the center of each lid - if it doesn't move, your jar is properly sealed and can be stored in a cool, dark place.
When it comes to enjoying your canned creations, the possibilities are endless. Whether you're spreading homemade jam on toast for breakfast or adding pickled vegetables to your lunchtime salad, the satisfaction of eating something you preserved yourself is truly unbeatable. Get creative with your preserves by incorporating them into recipes like sauces, marinades, and desserts. You can also share your canned goods with friends and family as thoughtful gifts that show off your newfound water bath canning in Instant Pot skills.
Remember to label each jar with the contents and date canned so you can keep track of how long they've been stored. Properly stored canned goods can last up to a year or more, but it's always best to consume them within a reasonable timeframe for optimal quality. With your new water bath canning in Instant Pot skills, you'll never look at store-bought preserves the same way again. Enjoy the fruits of your labor and savor each bite of your homemade creations.