Welcome to our beginner's guide to mastering canning basics! Canning is a fantastic way to preserve your favorite foods and enjoy them throughout the year. Whether you're a seasoned chef or just starting out in the kitchen, learning the basics of canning is a valuable skill that will save you money and reduce food waste.
So, what exactly are canning basics? Essentially, canning is the process of preserving food in airtight containers to prevent spoilage. There are two main methods of canning: water bath canning and pressure canning. Water bath canning is used for high-acid foods like fruits, jams, and pickles, while pressure canning is necessary for low-acid foods like vegetables, meats, and seafood.
Before diving into the world of canning, it's important to gather the necessary equipment. You'll need canning jars, lids, and bands, as well as a large stockpot, jar lifter, and canning rack. It's also crucial to follow proper canning techniques, including sterilizing your jars, using a tested recipe, and processing your jars for the correct amount of time.
Essential Tools and Equipment Needed
When it comes to mastering canning basics, having the right tools and equipment is essential for success. Here are some key items you'll need to get started:
Canning Jars: The foundation of any canning project, glass canning jars come in various sizes and styles to accommodate different types of preserves. Make sure to use jars specifically designed for canning to ensure a proper seal and to prevent breakage during processing.
Canning Supplies: In addition to jars, you'll also need lids, rings, and possibly other accessories like funnels, jar lifters, and bubble removers. These items, designed specifically for canning basics, will help make the process easier and more efficient.
Water Bath Canner or Pressure Canner: Depending on what you're preserving, you'll need either a water bath canner or a pressure canner. A water bath canner is sufficient for high-acid foods like jams and pickles, while a pressure canner is required for low-acid foods like vegetables and meats. Make sure to follow proper processing times and methods for safe canning.

9-Piece Ball Preserving Starter Kit - Clear Glass
Everything you need to get started preserving with this 9-Piece Ball Preserving Starter Kit in clear glass
Product information
Product Review Score
4.16 out of 5 stars
230 reviewsProduct links
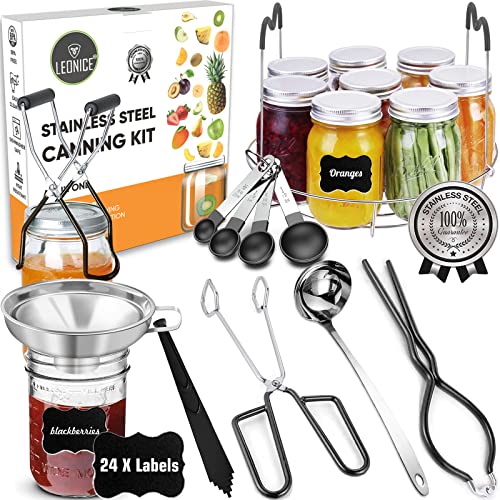
Stainless Steel Canning Starter Kit with Essentials
Get ready to preserve your harvest with our complete Stainless Steel Canning Starter Kit including essentials for beginners
Product information
$27.99
Product Review Score
4.95 out of 5 stars
113 reviewsProduct links
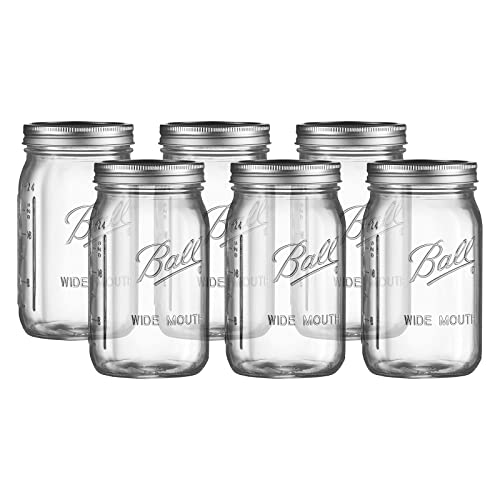
6 Ball Wide Mouth Quart Glass Canning Jars
Perfect for preserving your homemade jams, sauces, and pickles with style and efficiency
Product information
$23.99
Product Review Score
4.34 out of 5 stars
228 reviewsProduct links
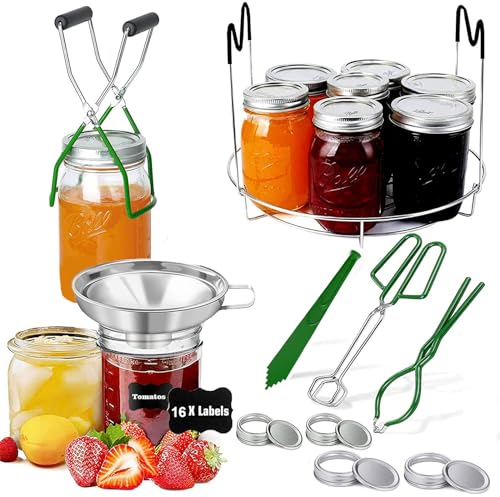
11pc Stainless Steel Canning Starter Kit with Essential Tools
Everything you need to start canning like a pro with this 11pc Stainless Steel Canning Starter Kit!
Product information
Product Review Score
4.96 out of 5 stars
126 reviewsProduct links
Step-by-Step Guide to Canning Process
Step 1: Gather Your Supplies
To start your canning journey, you'll need to gather the necessary supplies. This includes jars, lids, bands, a large pot for boiling water, a canning rack, a jar lifter, a funnel, and a ladle. Make sure to use jars specifically designed for canning to ensure safe preservation.
Step 2: Prepare Your Ingredients
Once you have all your supplies ready, it's time to prepare your ingredients. Wash your fruits or vegetables thoroughly and chop them into the desired size. You'll also need to prepare your canning liquid, whether it's a simple syrup, brine, or pickling solution.
Step 3: Fill and Seal Your Jars
Using a funnel and ladle, carefully fill each jar with your prepared ingredients, leaving the recommended headspace at the top. Wipe the rims of the jars with a clean, damp cloth to ensure a tight seal. Place the lids on top of the jars and secure them with bands, making sure not to overtighten.
Step 4: Process Your Jars
Once your jars are filled and sealed, it's time to process them. Place the jars on a canning rack in a large pot of boiling water, making sure the jars are covered with at least an inch of water. Process the jars according to the recipe's instructions, then carefully remove them using a jar lifter and allow them to cool completely before storing.
Step 5: Enjoy Your Preserved Goods
After your jars have cooled and sealed properly, you can store them in a cool, dark place for up to a year. When you're ready to enjoy your preserved goods, simply open a jar and savor the flavors of your hard work. Canning basics don't have to be intimidating - with a little preparation and care, you can master the art of preservation and enjoy your homemade treats all year round.
Tips and Tricks for Successful Preservation
When it comes to mastering canning basics for beginner preservation skills, there are a few key tips and tricks to keep in mind to ensure your efforts are successful. One important tip is to always use fresh, high-quality ingredients. The quality of your produce will directly impact the quality of your preserved goods, so make sure to choose the best ingredients available.
Another important tip is to follow the canning process carefully and precisely. Canning is a science, and even small deviations from the recipe or process can lead to spoiled or unsafe food. Be sure to follow all steps closely, from preparing your jars to processing your filled jars in a hot water bath or pressure canner.
One useful trick for successful preservation is to label and date your canned goods. This simple step can help you keep track of what you have preserved and when it was canned, making it easier to rotate your stock and ensure you are using your oldest goods first. It can also help you identify any spoiled or improperly preserved items.
