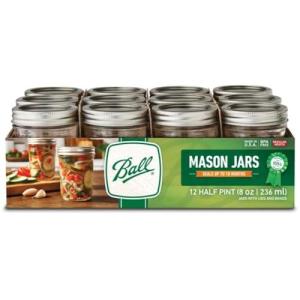

Before you can start canning your delicious salsa and chutney, you'll need to make sure you have all the necessary equipment on hand. Here's a list of what you'll need to get started:
It's important to have all of these items ready and easily accessible before you start the canning process. Having everything in place will make the process go smoothly and ensure that your salsa and chutney turn out perfectly.
Most of these items can be found at your local kitchen supply store or online. Make sure to check that your jars are suitable for canning and that your lids are new and properly sealed. Once you have all of your equipment ready, you'll be all set to start making and canning your delicious salsa and chutney!
Preparation Steps
Before you start canning your salsa or chutney, it’s important to make sure you have all the necessary ingredients and equipment on hand. Gather fresh produce, spices, vinegar, and sugar for your recipe, as well as canning jars, lids, and a large stockpot for water bath canning.
Once you have everything you need, it’s time to wash and chop your ingredients. Make sure to wash all fruits and vegetables thoroughly before cutting them into the desired size for your salsa or chutney. You’ll also want to finely chop any herbs or spices you’ll be using in your recipe.
Next, it’s important to sterilize your canning jars and lids before filling them with your salsa or chutney. You can do this by boiling the jars and lids in water for at least 10 minutes to kill any bacteria. Make sure to handle the jars and lids carefully with clean hands to avoid contamination.
Canning Process
When it comes to preserving salsa and chutney, the canning process is essential to ensure the longevity of your homemade creations. Follow these simple steps to successfully can your delicious salsa and chutney:
Step 1: Prepare your ingredients
Start by gathering all the fresh ingredients for your salsa or chutney. Wash and chop your fruits, vegetables, and spices before combining them in a large pot. Make sure to follow the recipe closely to achieve the perfect balance of flavors.
Step 2: Cook and simmer
Once your ingredients are combined, bring the mixture to a boil, then reduce the heat to a simmer. Let the salsa or chutney cook for the recommended amount of time to allow the flavors to meld together and create a delicious final product.
Step 3: Can and seal
While your salsa or chutney is still hot, carefully ladle it into sterilized jars, leaving a small amount of headspace at the top. Wipe the rims of the jars clean, then secure the lids onto the jars. Process the jars in a boiling water bath for the recommended amount of time to seal them properly.
Storage and Enjoyment
Once you’ve made your delicious salsa and chutney, you’ll want to make sure you store them properly to ensure their freshness and flavor. The best way to do this is by canning them. Canning is a great method for preserving your homemade goodies so you can enjoy them for months to come. Make sure you have clean and sterilized canning jars and lids ready before you begin the canning process.
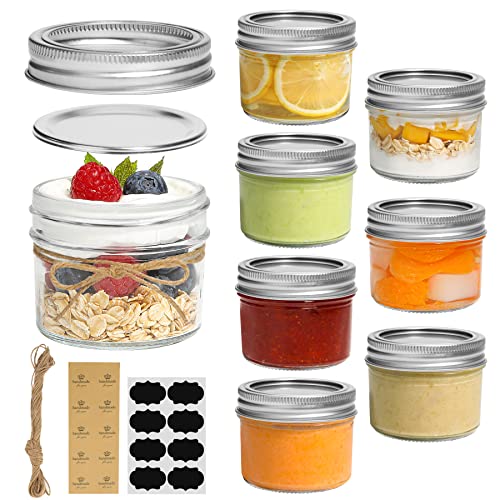
To store your salsa and chutney, start by ladling them into the prepared canning jars, leaving about ¼ inch of headspace at the top. Wipe the rims of the jars clean with a damp cloth before placing the lids on top. Screw the lids on tightly to ensure a proper seal. Place the filled jars in a large pot of boiling water, making sure they are fully submerged. Process the jars according to the recipe’s instructions for the recommended amount of time.
Once the jars have been processed, carefully remove them from the water and place them on a towel to cool. You’ll know the jars are properly sealed when you hear a satisfying “pop” sound as they cool. Store the sealed jars in a cool, dark place for at least 24 hours before enjoying your delicious homemade salsa and chutney. It’s always a good idea to label your jars with the date they were canned so you can keep track of their freshness.
