
First and foremost, opt for produce that is fresh and in peak season. Fresh fruits and vegetables have the best flavor and texture, which can make a big difference in the final product. If you can't pick your own produce, be sure to choose items that are firm, unblemished, and free of mold or rot. For meats, select cuts that are fresh and free of any off odors or discoloration.
Additionally, consider the ripeness of the produce you're using. Some fruits and vegetables are best canned when they're slightly underripe, while others are better suited for canning when fully ripe. Understanding the optimal ripeness for each type of produce can help you achieve the best results in your canning projects.
Essential Tools and Supplies
When it comes to mastering canning basics, having the right tools and supplies is essential to the process of preserving food. Here are a few must-have items to help you get started on your canning journey:
Mason Jars: These glass jars with lids are a staple in the canning process. Make sure to have a variety of sizes on hand to accommodate different foods and portion sizes.
Canner: A large pot specifically designed for canning is necessary for processing your jars. Look for one with a rack to hold the jars off the bottom of the pot.
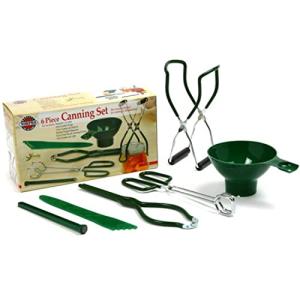
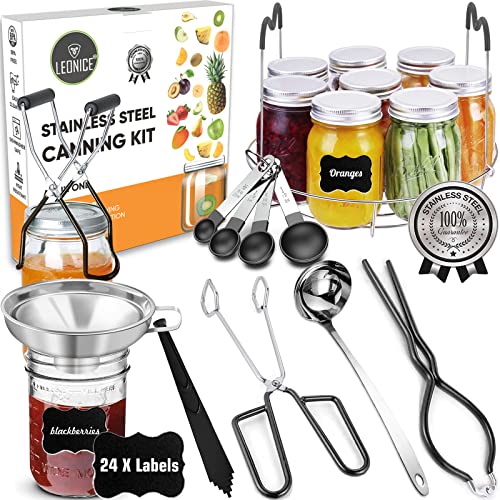
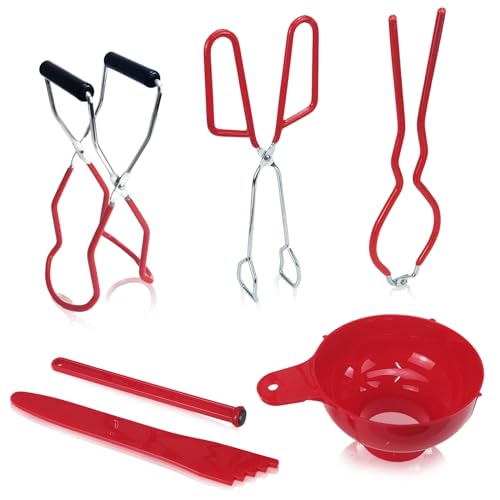
Canning Utensils: A set of canning tools, including a jar lifter, funnel, and bubble remover, will make the process much easier and safer. These tools will help you fill jars, remove air bubbles, and lift hot jars out of the canner.
Labels and Sharpie: Don't forget to label your jars with the date and contents! A sharpie or other permanent marker will work well for this task.
Step-by-Step Canning Instructions
When it comes to mastering canning basics, it's important to follow a few simple steps to ensure that your food is properly preserved and safe to eat. Whether you're a beginner or just looking to refresh your canning skills, these step-by-step instructions will guide you through the process.
Step 1: Prepare Your Equipment
Before you begin canning, make sure you have all the necessary equipment on hand. This includes canning jars, lids, bands, a water bath canner or pressure canner, a jar lifter, and a canning funnel. Wash all your equipment in hot, soapy water before you start.
Step 2: Prepare Your Ingredients
Next, prepare the food you want to can. This may involve washing, peeling, and chopping fruits and vegetables, or cooking them to the desired consistency. Make sure to follow a tested canning recipe to ensure that your food is safe to eat.
Step 3: Fill Your Jars and Process
Once your ingredients are prepared, use a canning funnel to fill your jars with the food. Leave the recommended amount of headspace as specified in your recipe. Wipe the rims of the jars with a clean, damp cloth, then place the lids on top and screw the bands on finger-tight. Process your jars in a water bath canner or pressure canner according to the recommended time and pressure for your recipe.
Storing and Enjoying Your Homemade Preserves
Once you've mastered the art of canning basics and have your homemade preserves all lined up in their jars, it's important to store them properly to ensure they last as long as possible. Proper storage starts with making sure the jars are completely cooled before you move them. Once they are at room temperature, remove the metal bands and check to make sure the lids have sealed properly. If any jars did not seal, you can either reprocess them or simply store them in the refrigerator and use them up within a few weeks.
When it comes to enjoying your homemade preserves, the possibilities are endless. Of course, the most classic way to enjoy them is by spreading them on toast or biscuits. However, you can get creative with how you use your preserves by incorporating them into baked goods like muffins or scones, mixing them into yogurt or oatmeal, or even using them as a glaze for meats. Just remember to always store opened jars in the refrigerator and use them up within a few months for the best flavor.
One important thing to keep in mind when storing and enjoying your homemade preserves is to label your jars with the date they were made. This will help you keep track of how long they have been stored and ensure you use up the oldest jars first. Additionally, storing your preserves in a cool, dark place, such as a pantry or cupboard, will help them stay at their best quality for as long as possible. With these simple tips and tricks, you'll be able to enjoy your homemade preserves for months to come.
